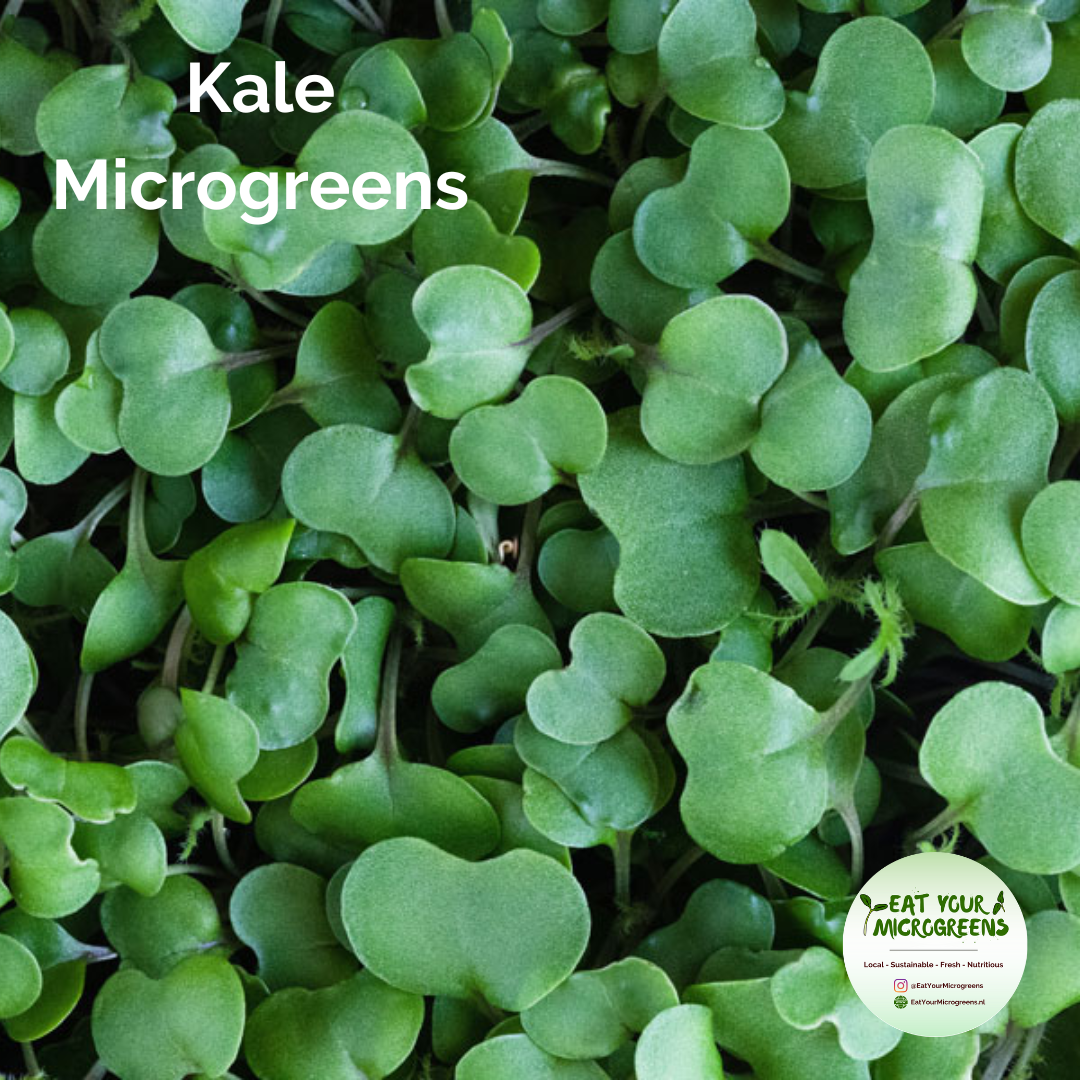
Rotkohl-Microgreens zu Hause anbauen: Eine einfache Schritt-für-Schritt-Anleitung
In einer Welt, in der Nährwert und Geschmack Hand in Hand gehen, war der Aufstieg von Microgreens geradezu revolutionär. Unter diesen winzigen Nährstoffbomben glänzen Red Kale Microgreens mit ihrer leuchtenden Farbe, ihrem einzigartigen Geschmack und ihren bemerkenswerten gesundheitlichen Vorteilen. Doch warum sind sie eine unverzichtbare Ergänzung Ihrer täglichen Ernährung? Lassen Sie uns die Gründe von Anfang an näher betrachten.
Nährstoffdichte : Microgreens aus Rotkohl sind vollgepackt mit wichtigen Vitaminen, Mineralien und Antioxidantien und bieten eine konzentrierte Nährstoffquelle in einer kleinen Portion.
Lebendiger Geschmack : Diese Microgreens verleihen Gerichten eine intensive Geschmacksnote und steigern den Geschmack und den kulinarischen Genuss.
Vielseitigkeit : Microgreens aus Rotkohl sind vielseitige Zutaten, die sich leicht in eine Vielzahl von Gerichten integrieren lassen, darunter Salate, Sandwiches, Smoothies und mehr.
Einfach anzubauen : Mikrogrün aus Rotkohl lässt sich auch auf begrenztem Raum, wie beispielsweise auf Balkonen oder Fensterbänken, problemlos anbauen und kann innerhalb weniger Wochen nach der Aussaat verzehrfertig sein.
Nachhaltigkeit : Der Anbau von Microgreens aus Rotkohl kann zu einer nachhaltigeren Ernährungsweise beitragen, da sie im Vergleich zum Anbau von ausgewachsenem Gemüse weniger Wasser und Platz benötigen und zu Hause angebaut werden können, wodurch die mit dem Transport und der Produktion der Lebensmittel verbundenen Umweltauswirkungen reduziert werden.
Gesundheitliche Vorteile von Rotkohl-Microgreens
Nährstoffreichtum : Mikrogrün aus Rotkohl ist reich an wichtigen Vitaminen und Mineralstoffen, darunter Vitamin A, Vitamin C, Vitamin K, Kalzium und Kalium, die für die allgemeine Gesundheit und das Wohlbefinden wichtig sind.
Antioxidative Eigenschaften : Mikrogrün aus Rotkohl enthält starke Antioxidantien wie Flavonoide und Carotinoide, die helfen, schädliche freie Radikale im Körper zu neutralisieren und so das Risiko chronischer Krankheiten und Entzündungen zu verringern.
Herzgesundheit : Der hohe Gehalt an Ballaststoffen, Kalium und Antioxidantien in Mikrogrün aus rotem Grünkohl kann helfen, den Blutdruck zu senken, den Cholesterinspiegel zu reduzieren und die Herzgesundheit zu unterstützen.
Augengesundheit : Das Vorhandensein von Lutein und Zeaxanthin in Mikrogrün aus Rotkohl kann zur Augengesundheit beitragen, indem es vor altersbedingter Makuladegeneration und Katarakten schützt.
Entzündungshemmende Wirkung : Mikrogrün aus Rotkohl enthält Verbindungen mit entzündungshemmenden Eigenschaften, die dazu beitragen können, Entzündungen im Körper zu reduzieren und Symptome von Erkrankungen wie Arthritis und Asthma zu lindern.
Verdauungsgesundheit : Der Ballaststoffgehalt in Mikrogrün aus Rotkohl unterstützt die Verdauungsgesundheit, indem er die Regelmäßigkeit fördert, Verstopfung vorbeugt und ein gesundes Darmmikrobiom unterstützt.
Die Aufnahme von Rotkohl-Microgreens in Ihre Ernährung als Teil einer ausgewogenen und abwechslungsreichen Ernährung kann zu Ihrer allgemeinen Gesundheit und Ihrem Wohlbefinden beitragen. Lassen Sie uns nun näher auf den Anbau von Rotkohl-Microgreens eingehen.
Rotkohl- Microgreens im Überblick
|
Geschmack |
Nussig , ähnlich wie Senf, aber weniger scharf |
|
Nährwert |
Reich an Vitamin A, C und K sowie Mineralien und Antioxidantien |
|
Vorweichen |
Nicht erforderlich |
|
Spülen/Abtropfen lassen (nach der Ernte) |
Optional |
|
Lichtanforderungen |
Bevorzugt indirektes Sonnenlicht oder Wachstumslampen |
|
Keimtemperatur und relativeLuftfeuchtigkeit |
Temperaturen: 18 °C bis 24 °C (65 °F bis 75 °F) und relative Luftfeuchtigkeit: 80–90 % |
|
Wachstumstemperatur und relative Luftfeuchtigkeit |
Gedeihen bei Temperaturen zwischen 18 °C und 24 °C (65 °F und 75 °F) |
|
Bewässerungsbedarf |
Sorgen Sie für einen gleichmäßigen Feuchtigkeitsgehalt und vermeiden Sie Überwässerung |
|
Keimzeit |
2 bis 3 Tage |
|
Optimale Ernte |
8-12 Tage |
Unverzichtbare Werkzeuge für den Anbau von Microgreens aus Rotkohl
Wichtige Materialien
- Saatgut : Hochwertiges Rotkohl-Saatgut ist für einen erfolgreichen Anbau unerlässlich.
- Schalen/Behälter : Sie benötigen zwei Schalen – eine flache Schale mit Abflusslöchern für optimale Wachstumsbedingungen und eine weitere Schale ohne Löcher, die Sie darunter platzieren, um überschüssiges Wasser aufzufangen. Unsere Auswahl finden Sie hier .
- Wachstumsmedium : Wählen Sie ein nährstoffreiches Wachstumsmedium wie eine Saatmischung oder Kokosfaser, um ein gesundes Wachstum zu unterstützen.
- Beleuchtung : Sorgen Sie für optimales Licht für Ihr Microgreen-Wachstum. Natürliches Sonnenlicht ist zwar effektiv, für optimale Ergebnisse empfehlen wir jedoch unsere T5 LED Microgreen Grow Lights . Mit einem 6500K-Spektrum bieten diese Lampen das ideale Lichtspektrum für den Anbau von Microgreens und garantieren so optimales Wachstum und Gesundheit.
- Sprühflasche : Eine Sprühflasche ist notwendig, um während der Keimung und des Wachstums die richtige Feuchtigkeit aufrechtzuerhalten .
Optionale Materialien
- Feuchtigkeitskuppel : Verwenden Sie eine Feuchtigkeitskuppel, um während der Keimphase eine feuchte Umgebung zu schaffen und so das erfolgreiche Keimen und frühe Wachstum der Samen zu unterstützen. Entdecken Sie unsere Auswahl an Feuchtigkeitskuppeln Hier .
- Rack-Lüfter : Verbessern Sie die Luftzirkulation und regulieren Sie die Temperatur für optimale Wachstumsbedingungen mit unserem Rack-Lüfter . Zusätzlich können Sie die Lüftergeschwindigkeit mit dem Lüfterdrehzahlregler steuern und so eine präzise Anpassung an Ihre spezifischen Bedürfnisse ermöglichen.
- Digitales LCD-Thermometer-Hygrometer: Überwachen Sie Temperatur und Luftfeuchtigkeit im Innenbereich mit unserem digitalen LCD-Thermometer-Hygrometer . Dieses Tool liefert wertvolle Einblicke in die Wachstumsumgebung und stellt optimale Bedingungen für die Entwicklung Ihrer Microgreens sicher.
Schrittweiser Wachstumsprozess
Nachdem wir nun über alle wichtigen Materialien und Kenntnisse für den Anbau von Microgreens aus Rotkohl verfügen, können wir uns nun einer einfachen Schritt-für-Schritt-Anleitung für den Anbau widmen:
SCHRITT 1: Bereiten Sie Ihre 1020 flachen Microgreen-Schalen vor
Nehmen Sie die flache Schale mit Löchern und stellen Sie die Schale ohne Löcher darunter, sodass beide übereinander gestapelt sind. Füllen Sie zunächst die obere Schale mit Löchern mit Erde, bis die Oberfläche eben und eben ist. Sie können die Erde mit einer Presse oder mit der Hand glattdrücken und Vertiefungen leicht auffüllen.

SCHRITT 2: Säen Sie Ihre Samen
Verteilen Sie die Rotkohlsamen gleichmäßig auf der Oberfläche. Bewässern Sie die Oberfläche mit der Sprühflasche und geben Sie etwas Wasser in die Bodenschale, um die Erde durchgehend feucht zu halten.


SCHRITT 3: Keimung Bühne
Um ein kräftiges Wurzelwachstum zu fördern, legen Sie ein Gewicht (bis zu 2,3 kg) auf die Rotkohlsamen. Stellen Sie während der 2-3 Keimtage eine weitere Schale über die Samen, um die Dunkelheit zu gewährleisten. Sobald die Samen sprießen und die Abdeckung angehoben wird, entfernen Sie das Gewicht und beginnen mit der Wachstumsphase.


SCHRITT 4: Anbau unter künstlicher intelligenter T5-Beleuchtung
Sobald die Samen gekeimt sind, befinden sie sich in der nächsten Wachstumsphase. Holen Sie Ihre 1020-Schale aus dem dafür vorgesehenen dunklen Bereich und stellen Sie sie unter die Lichtquelle – wir empfehlen T5 LED 6500K-Lampen mit ausreichend Lumen (1200–2200 Lumen). Stellen Sie außerdem sicher, dass Sie eine Zeitschaltuhr verwenden, um die Lichtmenge zu programmieren, die Ihre Pflanzen benötigen. So stellen Sie sicher, dass sie während ihres gesamten Lebenszyklus Photosynthese betreiben und die Nährstoffe liefern, die Ihr Körper benötigt.
Auch der Abstand zur Lichtquelle ist sehr wichtig. Ist die Lichtquelle zu weit von den Sämlingen entfernt, können diese zu dehnbar und dünn werden. Ist das Licht jedoch zu nah, strecken sie sich möglicherweise nicht vollständig über die Oberkante der 1020-Schale hinaus, was die Ernte erschwert und den Ertrag mindert.
Daher empfehlen wir, die Oberseite Ihres 1020-Tabletts 22–25 cm von Ihren Wachstumslichtern entfernt zu platzieren.
Wenn Sie an einem sonnigen Ort wohnen, können Sie Ihr 1020-Tablett natürlich auch auf der Sonnenseite Ihres Hauses platzieren, beispielsweise auf einer Fensterbank oder im Freien.
Die Temperaturen sollten denen in Ihrem Keimraum ähneln, die Luftfeuchtigkeit kann jedoch variieren. Während Ihre Sämlinge wachsen, benötigen sie nicht nur mehr Platz, sondern geben auch kontinuierlich Feuchtigkeit ab, wodurch die relative Luftfeuchtigkeit während des gesamten Wachstumszyklus steigt. Um das Risiko von Schimmel oder ähnlichen Qualitätsproblemen zu verringern, halten Sie die Luftfeuchtigkeit zwischen 45 und 55 % RH. Es gibt relativ günstige, intelligente Luftbefeuchter, die Ihnen helfen, eine ausreichende RH aufrechtzuerhalten. Zusätzlich können Sie einen Ventilator oder eine Lüftung verwenden, um Feuchtigkeitsansammlungen und hohe Luftfeuchtigkeit in Ihrem 1020- Tablett zu reduzieren .
Auch das Gießen ist entscheidend: Wenn Sie bemerken, dass die Erde trocken ist, gießen Sie unbedingt aus der unteren Schale, damit die Erde das Wasser aufnehmen kann. Diese Methode ist wichtig, um die Rotkohl-Microgreens trocken zu halten und so Pilzbefall vorzubeugen, der bei dieser Art von Microgreens häufiger auftritt.

SCHRITT 5: Ernte
Innerhalb von nur 8–12 Tagen nach der Pflanzung sind Ihre Rotkohl-Microgreens erntereif. Sie erreichen eine Höhe von 2–7,5 cm (1–3 Zoll), haben voll entwickelte Keimblätter und eine leuchtende Farbe. Am besten ernten Sie sie, bevor die ersten Blätter sprießen.

SCHRITT 6: ESSEN SIE IHRE MICROGREENS und Lagerung
Nach der Ernte Ihrer Microgreens können Sie diese sofort verzehren oder für später aufbewahren. Da wir keine Chemikalien verwenden und unsere Samen biologisch sind, können Sie sie direkt nach der Ernte bedenkenlos verzehren und erhalten so maximale Frische und Nährstoffe.
Besonders wenn du deine Samen in Erde säest, empfehlen wir dir, deine Microgreens kurz einzuweichen oder abzuspülen. Anschließend trockentupfen und sie sind sofort einsatzbereit.
Wenn Sie die Microgreens lieber später verzehren möchten, nehmen Sie einen Behälter mit Küchenpapier und geben Sie die frisch geschnittenen Microgreens vorsichtig hinein. Achten Sie darauf, keinen zu hohen Behälter zu verwenden, da Microgreens stapelempfindlich sind und bei dieser Lagerung schnell verderben können. Lagern Sie Ihre Rotkohl-Microgreens im Kühlschrank (bei 8 °C) und verzehren Sie sie innerhalb von 7–14 Tagen.
Hinweis: Das Papiertuch am Boden Ihres Behälters dient dazu, beim Kühlen Feuchtigkeit aufzunehmen, wodurch sich auch die Haltbarkeit Ihrer Rotkohl-Microgreens verlängert.
Microgreens Tipps
- Gießen : Gießen Sie die Microgreens aus der unteren Schale, damit die Erde das Wasser aufnehmen kann.
- Überwachung : Mit dem optionalen digitalen LCD-Thermometer-Hygrometer können Sie Temperatur und Luftfeuchtigkeit regelmäßig überwachen. Passen Sie die Bedingungen nach Bedarf an, um optimale Wachstumsbedingungen zu gewährleisten.
- Luftzirkulation: Microgreens haben dichte Samen und benötigen daher Luftzirkulation. Bewahren Sie Ihre Microgreens an einem Ort mit guter Luftzirkulation auf. Sie können sie entweder in der Nähe eines offenen Fensters aufstellen oder einen kleinen rotierenden Ventilator verwenden. Vermeiden Sie es, Ihre Microgreens in geschlossenen Räumen ohne Luftzirkulation aufzubewahren.
- Abfall & Recycling: Wenn Sie Erde, Kokosfasern oder ein anderes biologisch abbaubares Substrat verwenden, legen Sie einfach einen Kompostbehälter an oder suchen Sie nach Recyclinghöfen, beispielsweise in Amsterdam und Amstelveen, wo gebrauchte Erde sortiert und recycelt wird. Hinweis: Für den schnellen Kompostanbau benötigen Sie einen Kompostsack oder -behälter, in den Ihre 1020er-Schale passt. Sobald Sie ein paar Schalen mit Komposterde haben, geben Sie Würmer aus Ihrer Umgebung hinzu oder suchen Sie online nach Tigerwürmern. Innerhalb von 3–4 Monaten haben Sie reichhaltige Komposterde, die Sie in Ihrem Garten verwenden können. Wir empfehlen, Kompost nicht für Microgreens zu verwenden, insbesondere nicht beim Indoor-Anbau.
- Wasserstoffperoxid (Lebensmittelqualität, 3 %) : Ein wirksames natürliches Reinigungsmittel zur Desinfektion und Gewährleistung der Lebensmittelsicherheit. Kann auch sparsam zur Schimmelbekämpfung eingesetzt werden.
- Tipp vom Küchenchef: Die meisten ungeschnittenen oder „lebenden“ Schalen können 1–2 Wochen im begehbaren Kühlschrank aufbewahrt werden. Lagern Sie sie unbedingt im obersten Fach, um die Lebensmittelsicherheitsvorschriften einzuhalten. Sie wachsen im begehbaren Kühlschrank nicht weiter, bleiben aber bis zur Ernte am Leben und frisch.
Rotkohl -Microgreens sind eine hervorragende Wahl, um Ihre tägliche Ernährung mit einer Extraportion Gesundheit und Vitalität zu bereichern. Verleihen Sie Ihren Lieblingsgerichten einen Hauch von Farbe und Geschmack, indem Sie diese kleinen Schätze noch heute in Ihre Küche integrieren!
Schlüsselwörter: Rotkohl, Microgreens, Sprossen, Microgroenten , gesund, gezond, Anleitung